
DIY Computer Setup: Expert Tips for Efficient Hardware Installation
AT
Introduction to DIY Computer Setup
Building your own computer can be an incredibly rewarding experience. Not only do you learn about the intricacies of computer hardware, but you also have the opportunity to tailor the machine to your specific needs. Whether you're a gamer, a content creator, or just want a powerful machine for everyday use, a DIY setup can be the perfect solution.

Gathering the Right Tools and Components
Before diving into the assembly, ensure you have all the necessary tools and components. You'll need a screwdriver, preferably magnetic, to avoid losing screws inside your case. Additionally, gather all your components such as the motherboard, CPU, RAM, power supply, and storage devices. Having everything ready will make the process smoother and more efficient.
Choosing the Right Components
When selecting components, consider your primary use for the computer. For gaming, invest in a high-performance GPU and CPU. For content creation, prioritize ample RAM and fast storage. Make sure all parts are compatible with each other to avoid any bottlenecks or compatibility issues.

Preparing Your Workspace
A clean, organized workspace is crucial for a successful build. Ensure you have ample lighting and a spacious area to lay out your components. Static electricity can damage sensitive parts, so it's wise to use an anti-static wrist strap and work on a non-carpeted surface.
Organizing Your Components
Lay out all your components and tools within easy reach. Organize screws and small parts in separate containers to prevent losing them. This organization will help you focus and streamline the assembly process.

Step-by-Step Hardware Installation
Now that everything is prepared, it's time to start building. Follow these general steps for installing your hardware:
- Install the CPU onto the motherboard and attach the cooling solution.
- Insert RAM into the designated slots.
- Mount the motherboard into the case and secure it with screws.
- Install the power supply and connect the necessary cables.
- Attach storage devices and connect them to the motherboard.
- Install the GPU into the appropriate PCIe slot.
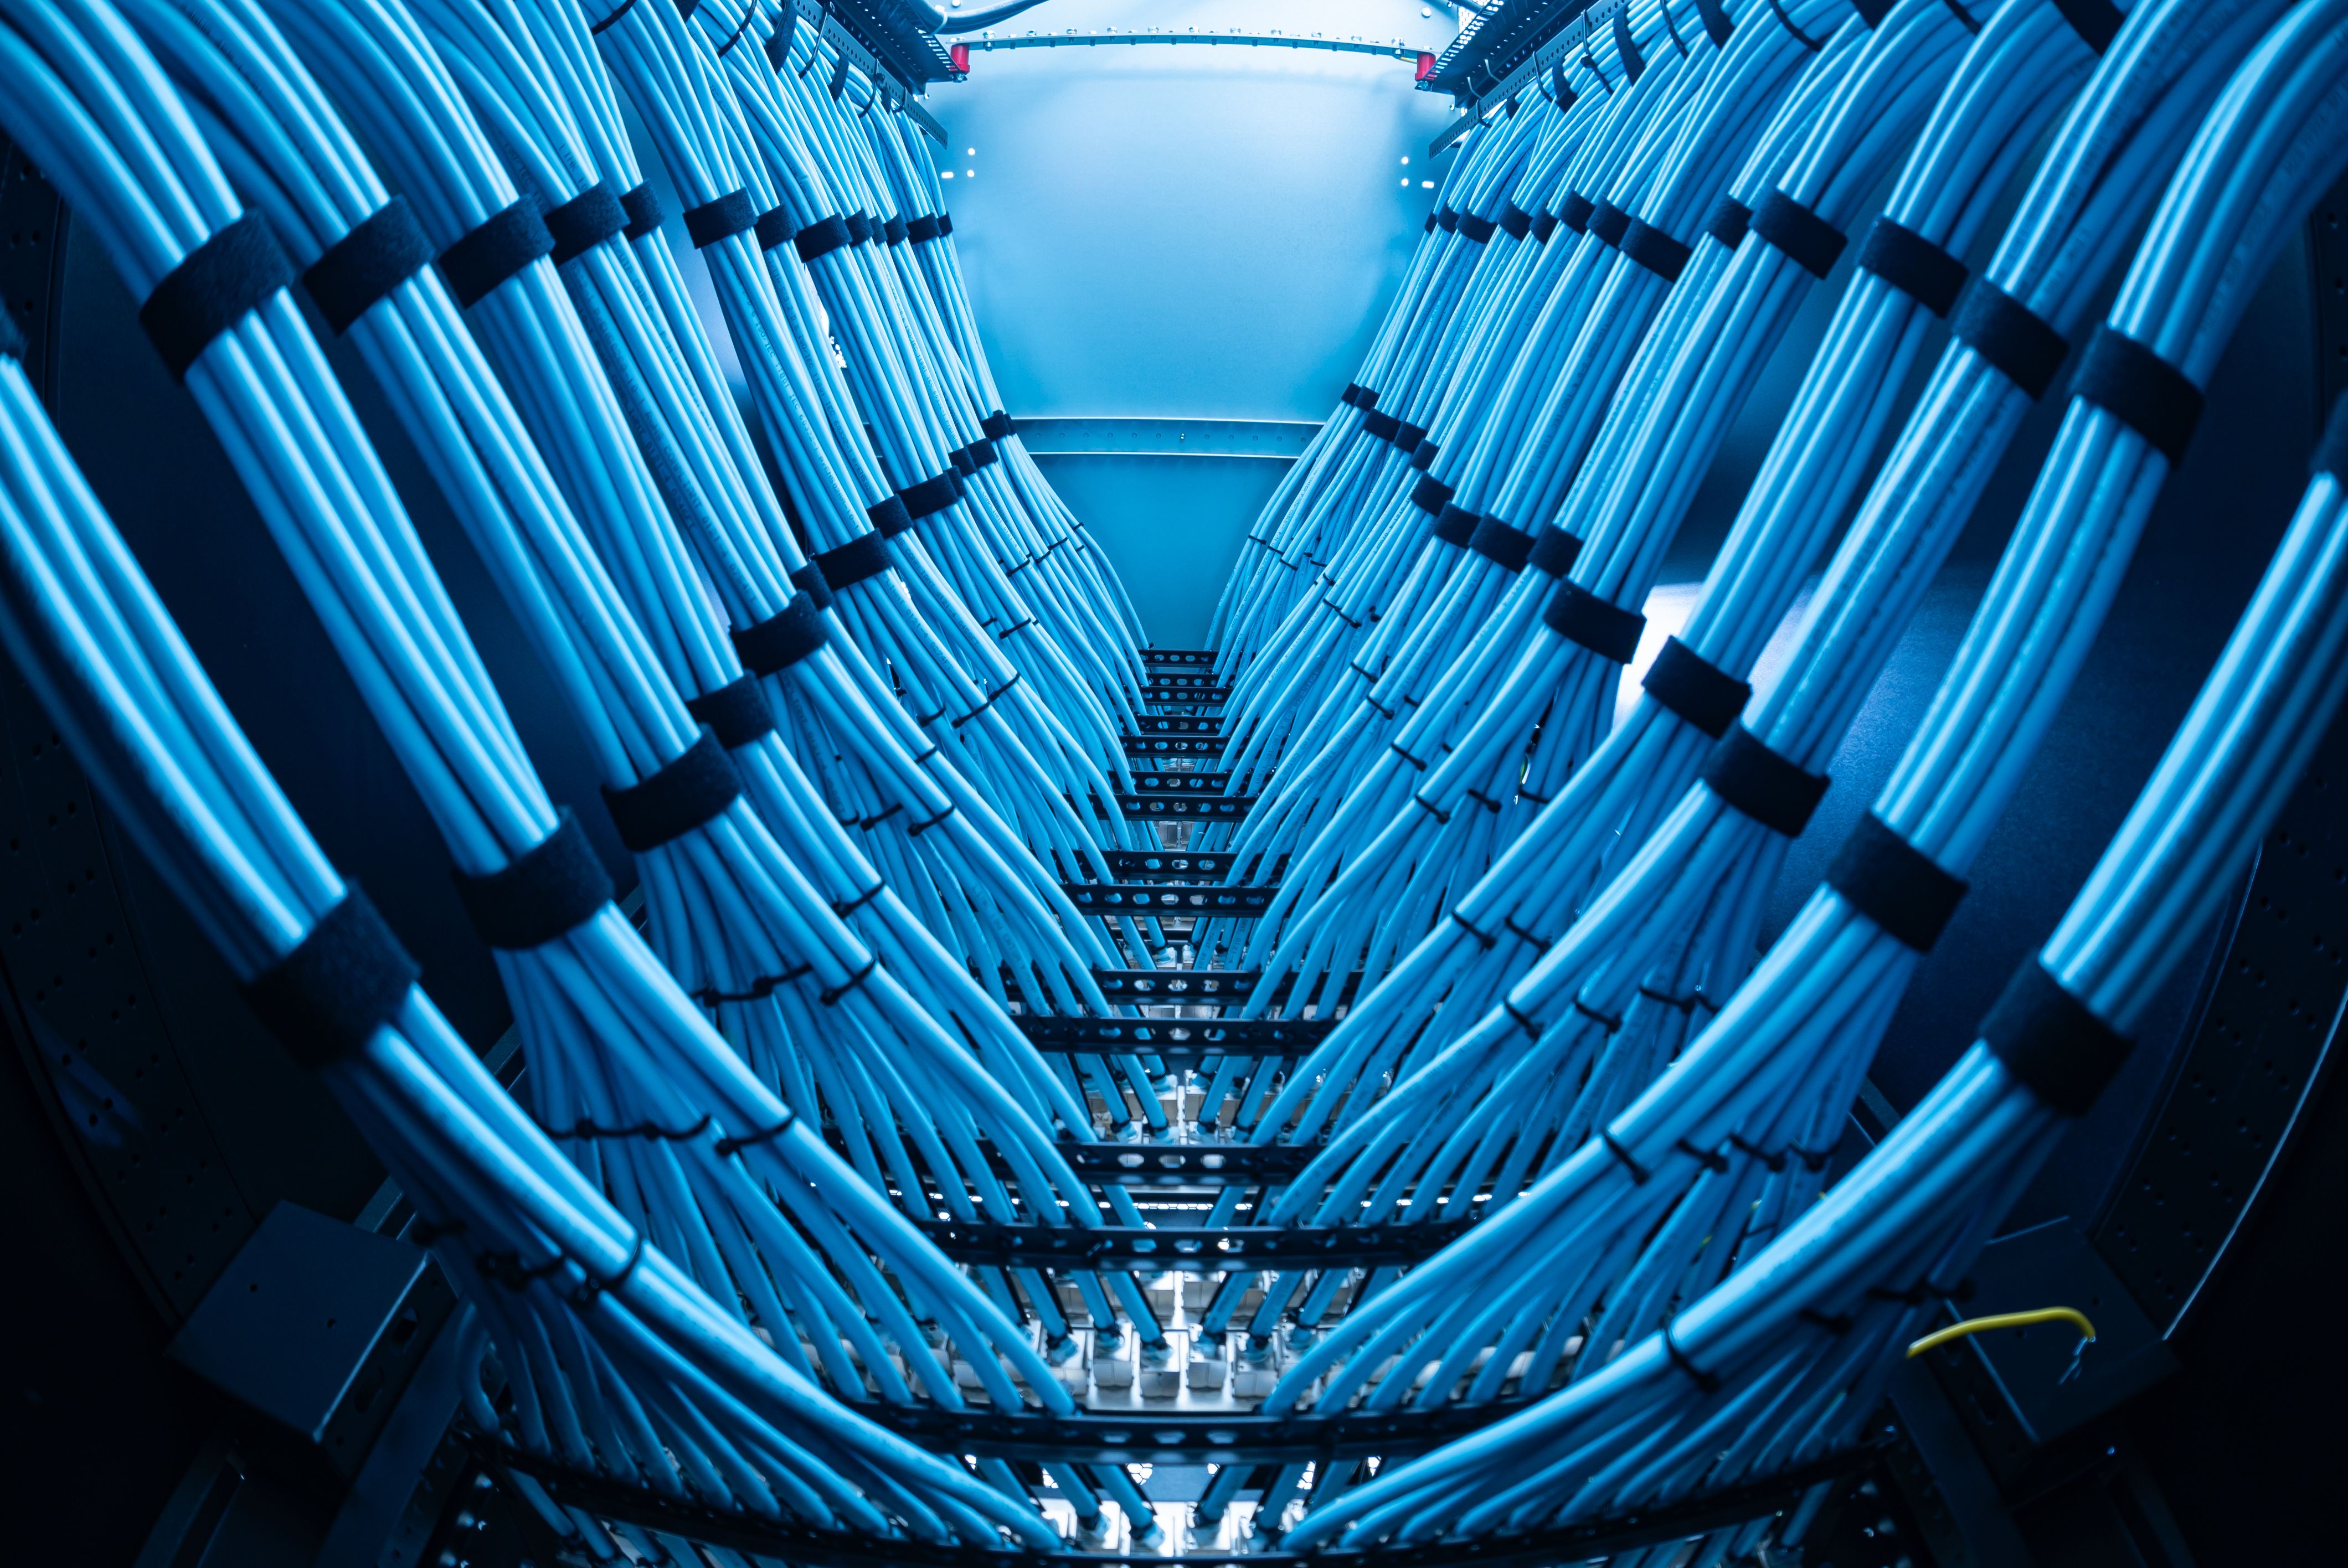
Cable Management
Good cable management not only makes your build look neat but also improves airflow and cooling efficiency. Use zip ties or Velcro straps to bundle cables together and keep them out of the way of fans and other components.
Testing and Final Adjustments
Once the hardware is assembled, it's time to test your build. Connect your computer to a monitor, keyboard, and mouse, and power it on. Enter the BIOS to ensure all components are recognized and functioning correctly. Make any necessary adjustments, such as setting the boot priority or enabling XMP for RAM.
Troubleshooting Common Issues
If you encounter issues, don't panic. Common problems include loose cables or incorrect component seating. Double-check all connections and consult your motherboard manual for troubleshooting tips. Online forums and communities can also be valuable resources for resolving issues.

Conclusion
Building your own computer is a fulfilling project that offers both challenges and rewards. By carefully selecting components, organizing your workspace, and following a methodical installation process, you can create a powerful and efficient machine tailored to your needs. Remember, patience and attention to detail are your best allies throughout this journey.